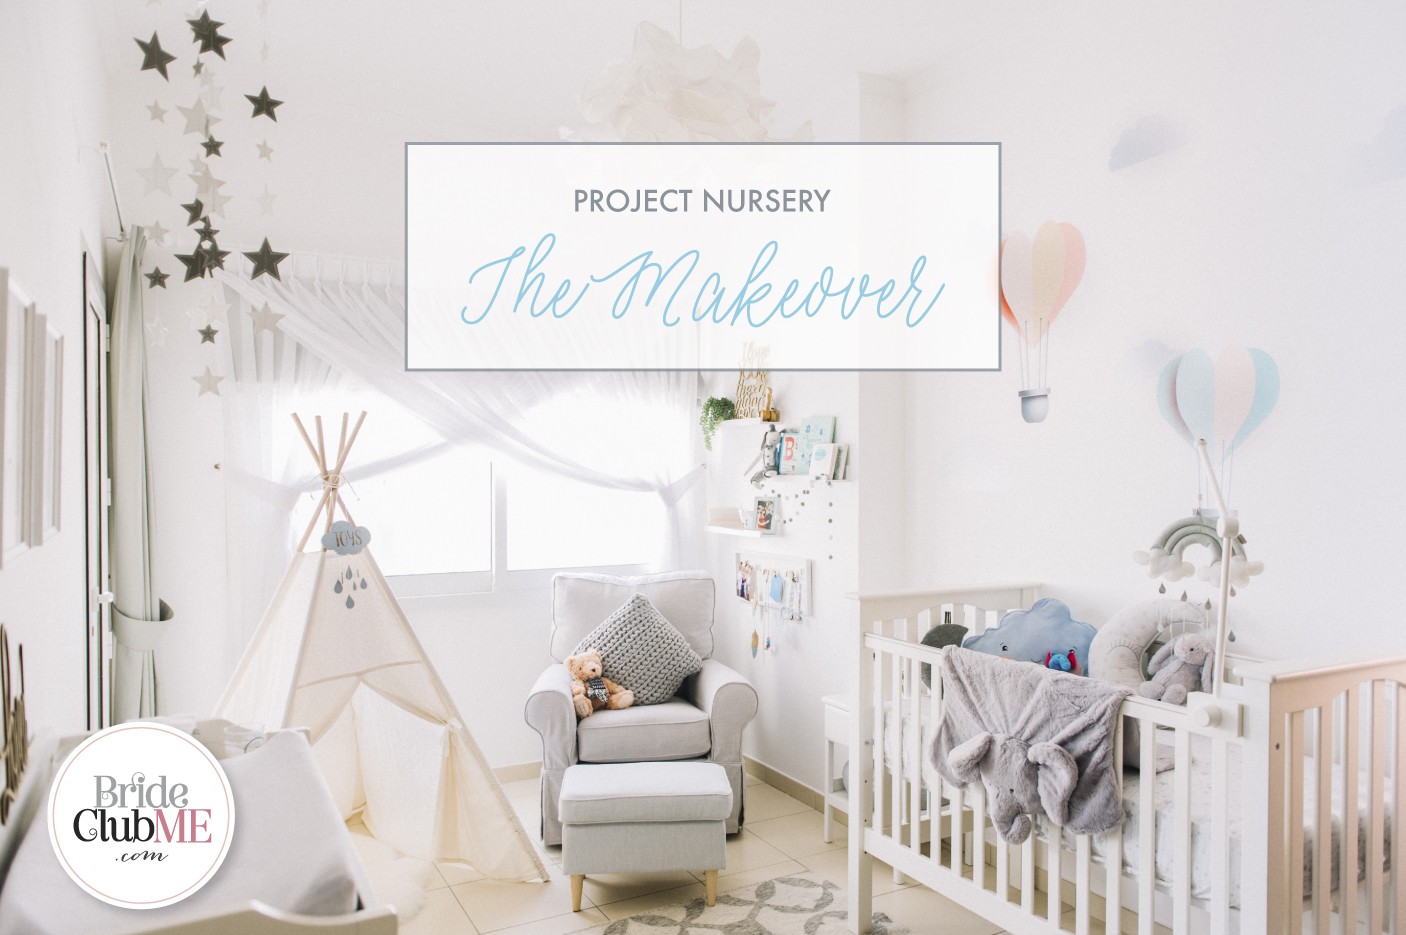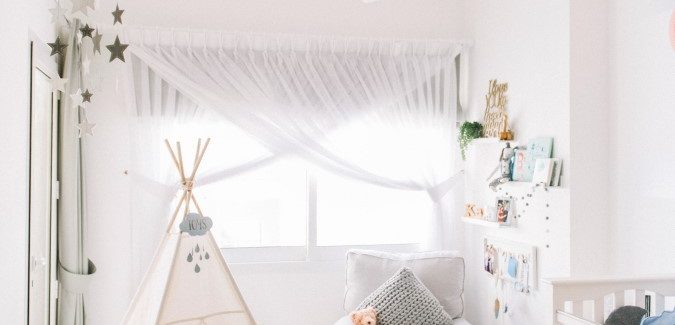
Project Nursery – The Makeover
Yay! The time has finally come; the nursery is done and dusted, phew! I started #projectnursery (as I call it), from around 15 weeks pregnant. Some people thought I was mad starting so early, but there is always a method to my madness. Running a business is tough; I have constant deadlines and a small team to manage, as well as launching new projects and writing content, etc…. I work well into the evenings and sometimes on the weekends, so the thought of rushing the nursery and having to do it all at the tail end of my pregnancy made me all flustered and stressed. Therefore, I thought I’d start slowly and do one thing at a time. It turned out to be the best decision I made, as it was a real pleasure and I thoroughly enjoyed it.
My objective was to create a calm and comfortable space for me to change my baby and nurse him while he is tiny and then for him to transfer to when he is older. A space that would also store all of his clothes, toys and practical baby accessories.
The Painting, Light fixtures & Decals
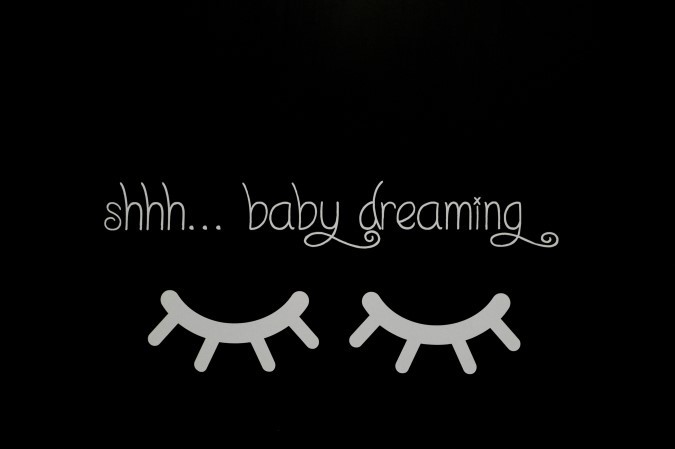
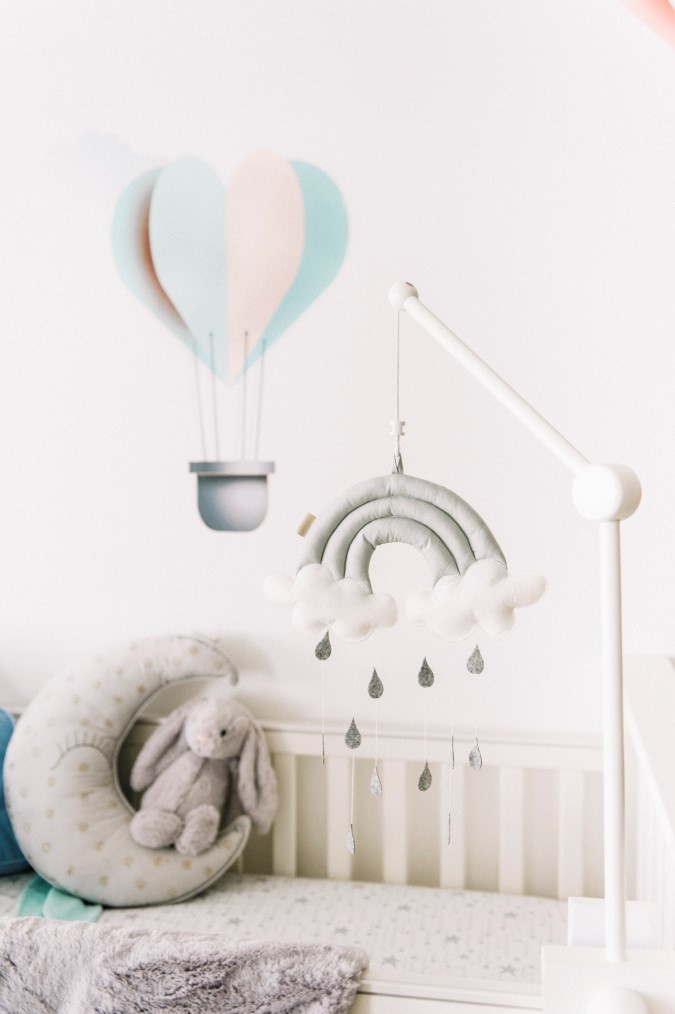
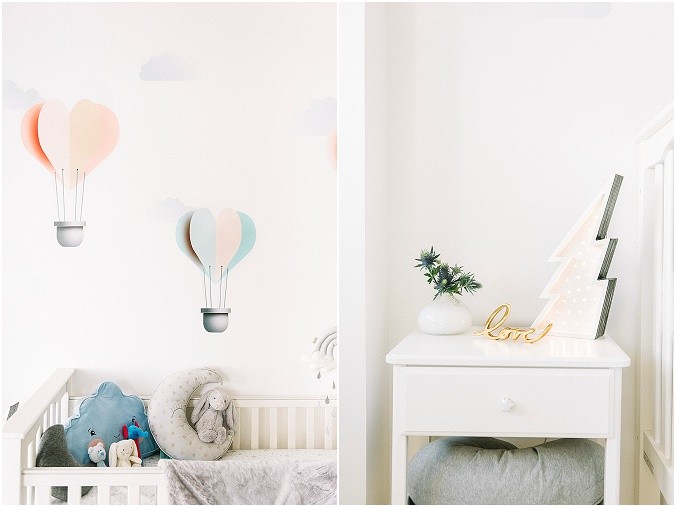
As much as I wanted to follow the dreamy vision of many a mother-to-be (including my own), and don a pair of overalls/dungarees to paint the nursery myself, I just could not be arsed! I was also wary of the fumes, despite the availability of non-toxic paint. I hired my go-to painters and handy men, Green Optimum Technical Services LLC (GOTS), who gave the room a fresh lick of white matt paint and helped with light fixtures, etc. I then co-designed the hot air ballon and cloud decals used on the feature wall and had them installed by Ewalls. They also made the cute ‘Shhhh baby is sleeping’ stickers on the nursery door (below).
The Theme
I was toying with two theme ideas: ‘Sky’ and ‘Bohemian’. What I wanted to avoid was a really boyish room with lots of bright gaudy colour. Instead, I envisioned a calm and fresh room with pops of colour and fun. Because every other room in my home has a boho edge, I decided to run with the sky theme, but still managed to add a touch of boho baby into the mix.
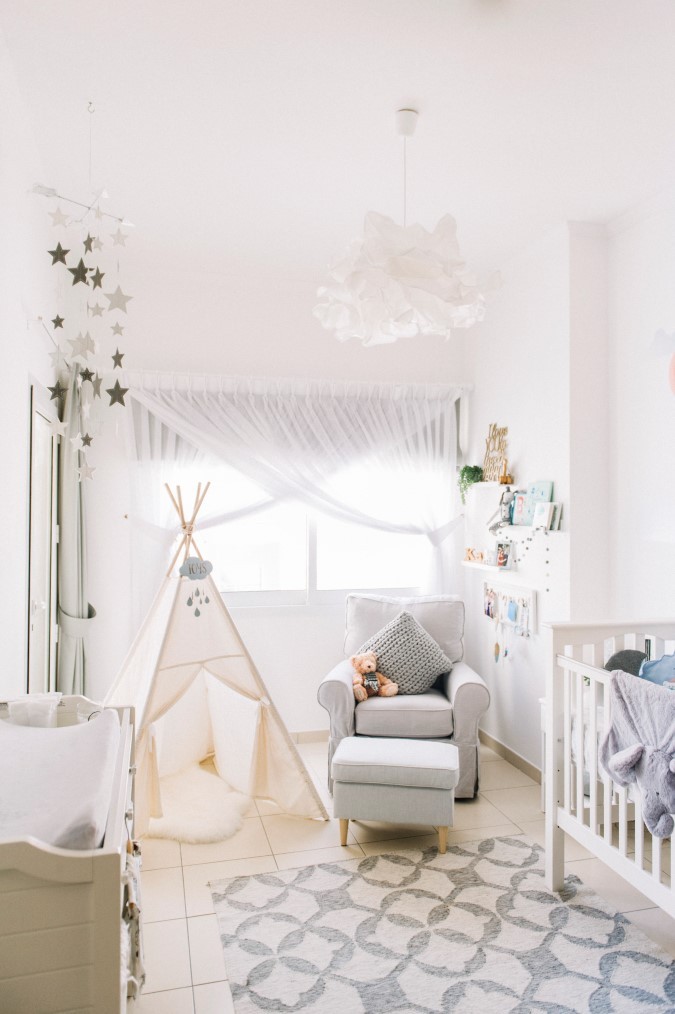
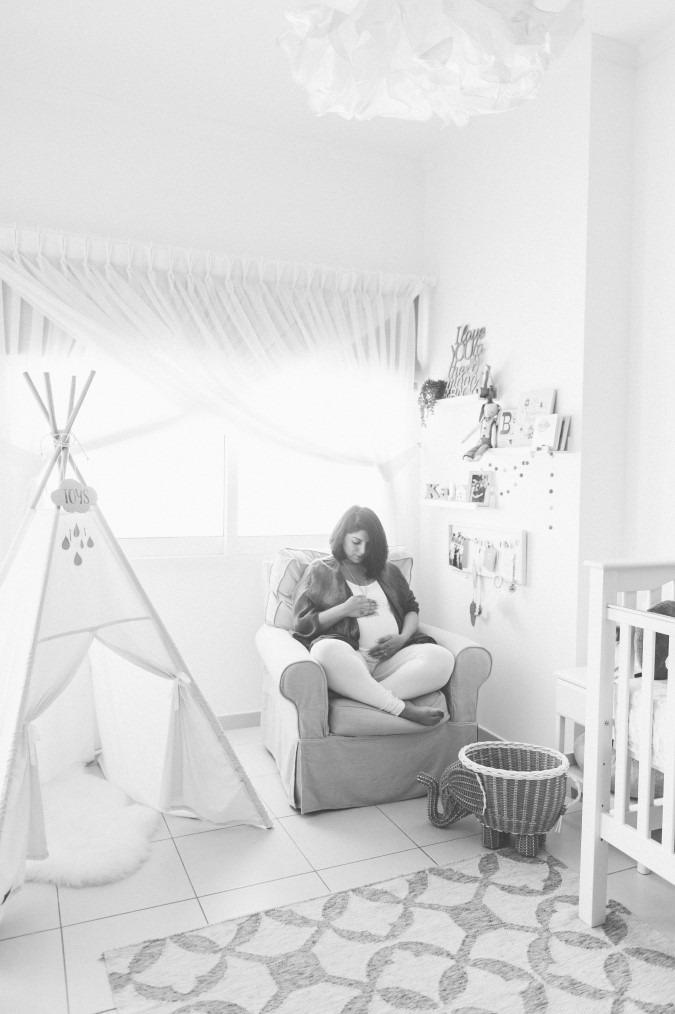
The sky theme incorporated stars, clouds, hot air balloons, moons and rainbows; basically anything to do with the sky. The boho touch came with the tepee, which shall be used for toy storage until LO is big enough to enjoy it!
Practicality & Affordability
While I wanted a gorgeous room, practicality is very important to me, and the nursery needed to have plenty of storage and above all be safe for LO. My rocker was my biggest extravagance. I searched everywhere for a comfortable rocking chair, including second hand groups and websites, yet found nothing that appealed. I fell in love with The Pottery Barn’s grey rocker, but could not justify the price tag! I just kept waiting and hoping that it would, at some point, be on sale. Lo and behold, it eventually was! I managed to get it at almost half price. I could easily have got a ‘trendy’ side chair, which would have looked great, but would not have been the most comfortable or practical. I wanted a chair I could upholster if need be and use in the living room once he grows up. I could not afford the leg rest that went with it, so instead bought mine from IKEA in a colour as close as I could get to the rocker.
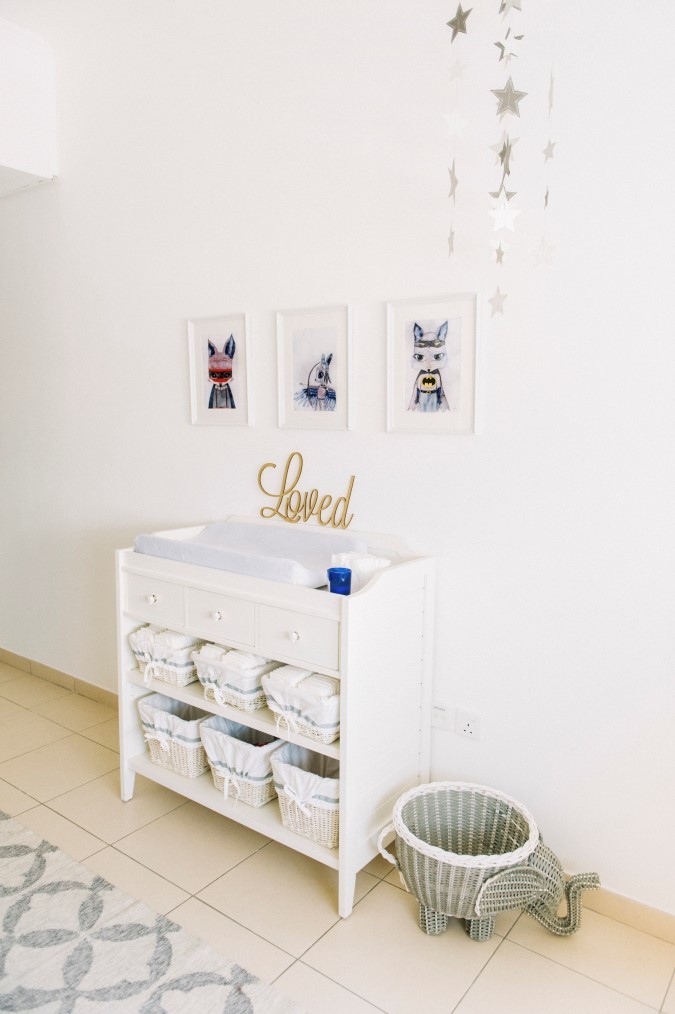
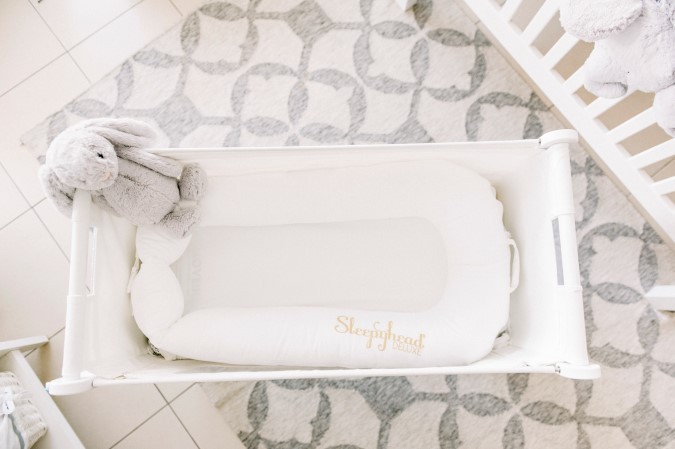
My cot and changing table were again from Pottery Barn, but purchased second hand. Both were very sturdy and in great condition. The changer has plenty of space for storage and fits perfectly in the room.
For additional storage, IKEA was my best friend. I bought boxes and hangers there, in addition to my side table.
The Fun Bits
The bit I enjoyed the most was styling and adding all the fun elements into the final décor. To start, I removed all of the handles from the baby changer and side table and replaced them with cute star handles purchased at Zara Home.
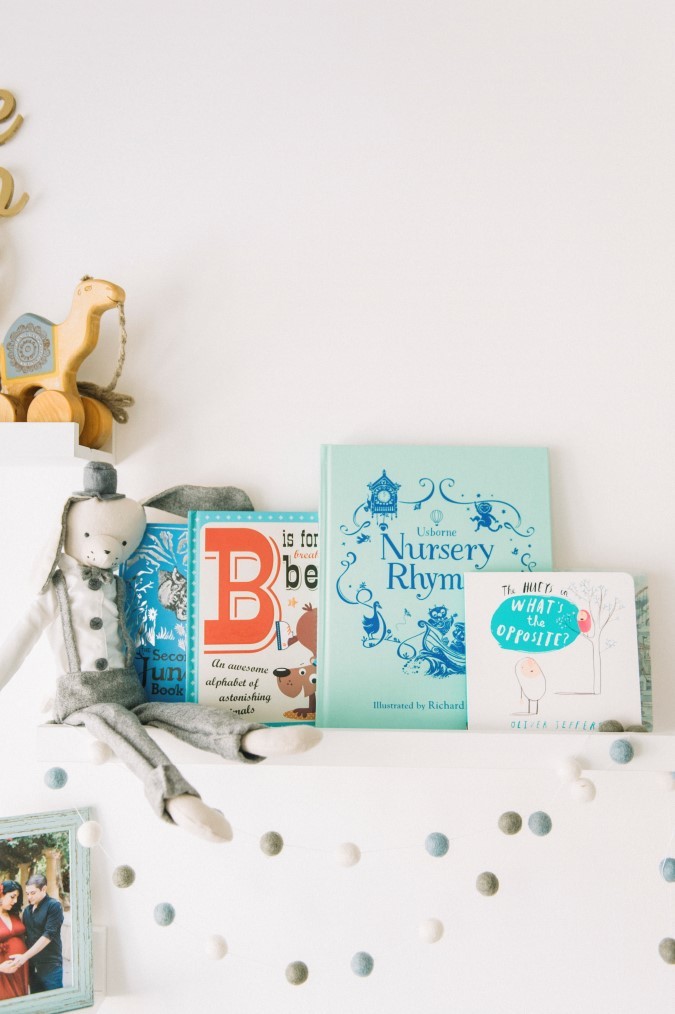
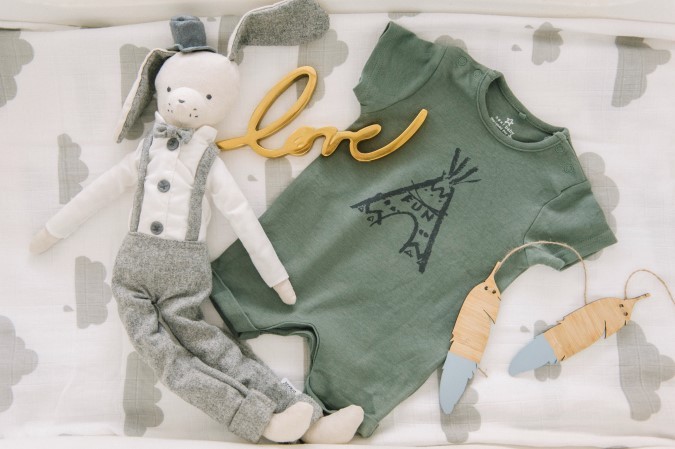
I then installed three small shelves from IKEA and pimped them up with classic and modern story books, a cute grey, blue and white felt ball garland from MING + ROO, a toy rabbit from Mamas and Papas, a wooden name puzzle purchased at ARTE Market, a picture of Adam and I from our maternity shoot, a glittery house that I just had lying around my storage room and a mini Big Ben statue that I had from a while back.
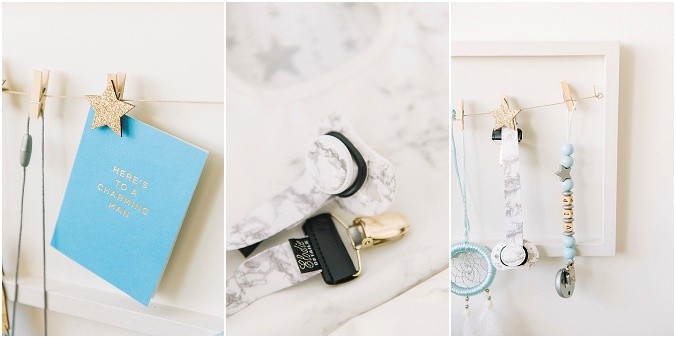
Below the shelves, I installed a little peg frame from MATALAN, and hung mementos such as a blue and gold card from one of my friends and things like dummy holders, teething necklaces, etc.
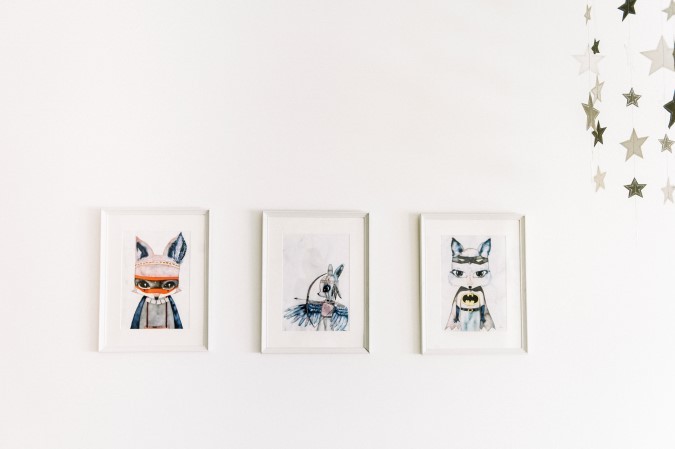
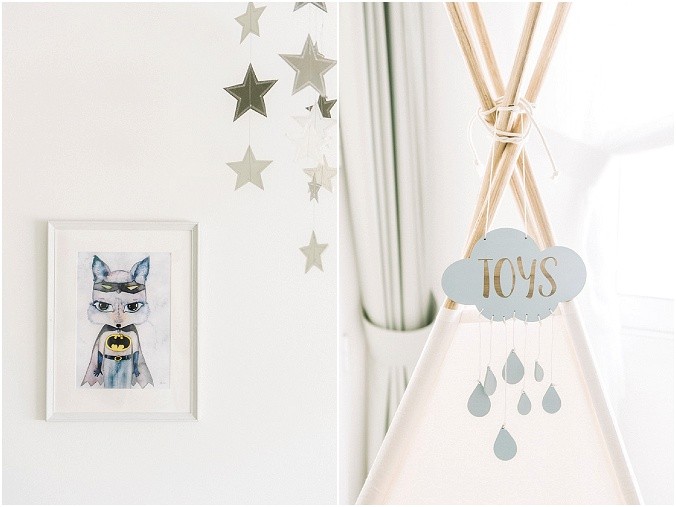
My favourite purchase for the nursery had to be the gorgeous prints I purchased from an artist on Etsy. I wanted something a little different and fell in love with these awesome super hero animal illustrations. I ordered the designs and had them printed in Dubai, which was extremely cost effective.
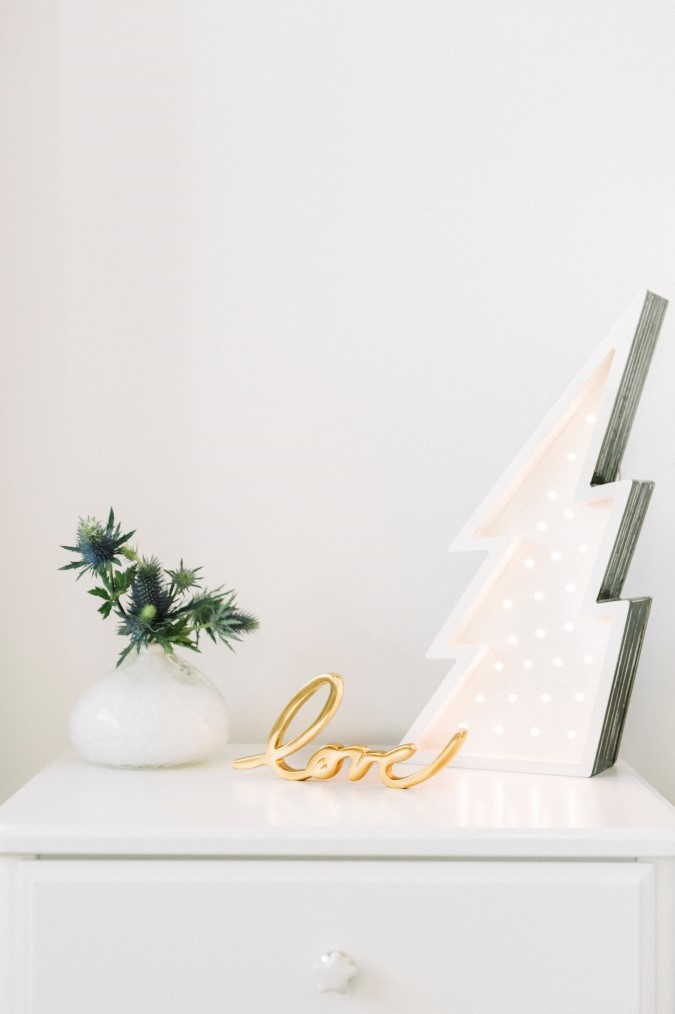
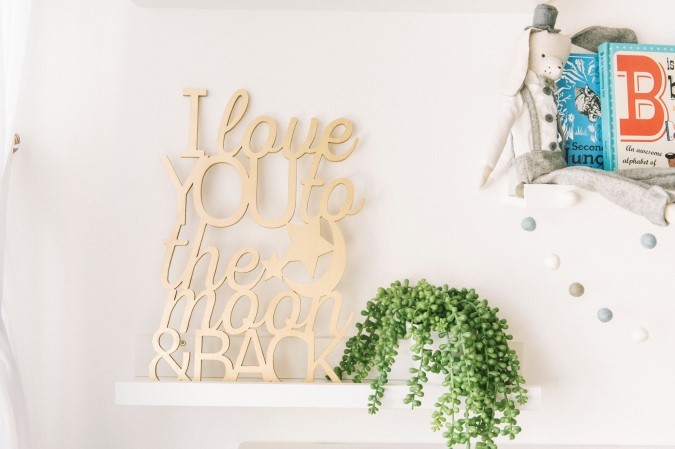
Lastly, Melissa from The Party worked closely with me to create some custom signs and clothes dividers. For our wedding three years ago, we had a ‘love you to the moon & back’ sign hanging on our wedding arch, and so we wanted the same quote in our baby’s nursery. The Party created one in gold, which was placed on one of the shelves. I also used the ‘Loved’ sign that was custom made for my pregnancy announcement and placed it near the changer. My favourite however, was the cloud ‘Toys’ sign, which I have hung on the tepee. Lastly, I had some cloud-shaped clothes dividers made in baby blue.
Extra touches in the nursery included the elephant basket from Zara Home, which I shall use to put baba’s dirty sleepers in, the grey elephant rug gifted to me by Joelle from My Lovely Wedding at my baby shower and the feature grey and white rug purchased from West Elm.
I am very pleased with the outcome of the nursery and can’t wait to start using it when my boy arrives very soon! I just hope I didn’t get too carried away with the aesthetic and that it gets put to good use!
*Update: This makeover was conducted in 2016 and some items may no longer be available from the suppliers mentioned.
